MariaDB是源自MySQL的RDBMS(关系型数据库管理系统),可免费使用的数据库(GPL版权)。
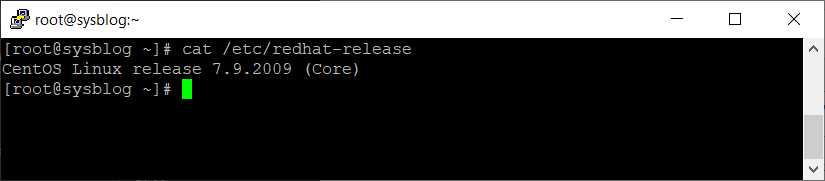
在这里介绍CentOS7.9上安装MariaDB的方法,OS的系统版本可确认/etc/redhat-release文件。
设定MariaDB Reposiotry
首先设定MariaDB的Repository。
[root@sysblog ~]# curl -LsS https://downloads.mariadb.com/MariaDB/mariadb_repo_setup | sudo bash
[info] Checking for script prerequisites.
[info] Repository file successfully written to /etc/yum.repos.d/mariadb.repo
[info] Adding trusted package signing keys...
[info] Successfully added trusted package signing keys
安装MariaDB
接下来使用yum命令安装MariaDB服务器。
[root@sysblog ~]# yum install MariaDB-server -y
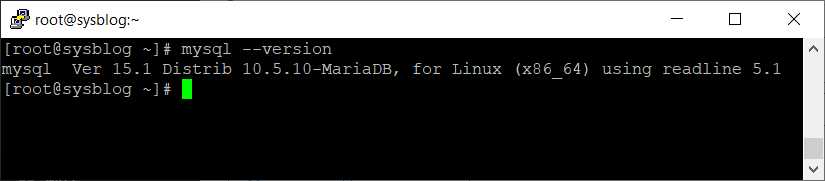
安装MariaDB后,mysql –version命令确认版本,在这里MariaDB版本为10.5.10。
使用systemctl命令,启动MariaDB并设定为开始自动启动。
[root@sysblog ~]# systemctl start mariadb
[root@sysblog ~]# systemctl enable mariadb
Created symlink from /etc/systemd/system/multi-user.target.wants/mariadb.service to /usr/lib/systemd/system/mariadb.service.
初始化MariaDB
使用MariaDB自带的 mysql_secure_installation 工具进行初始设定。
[root@sysblog ~]# mysql_secure_installation

NOTE: RUNNING ALL PARTS OF THIS SCRIPT IS RECOMMENDED FOR ALL MariaDB
      SERVERS IN PRODUCTION USE!  PLEASE READ EACH STEP CAREFULLY!

In order to log into MariaDB to secure it, we'll need the current
password for the root user. If you've just installed MariaDB, and
haven't set the root password yet, you should just press enter here.

Enter current password for root (enter for none):
OK, successfully used password, moving on...

Setting the root password or using the unix_socket ensures that nobody
can log into the MariaDB root user without the proper authorisation.

You already have your root account protected, so you can safely answer 'n'.
unix_socket为服务器上文件,通过unix_socket连接MariaDB。
Switch to unix_socket authentication [Y/n] Y
Enabled successfully!
Reloading privilege tables..
 ... Success!
设定MariaDB的管理员root用户的密码。
You already have your root account protected, so you can safely answer 'n'.

Change the root password? [Y/n] Y
New password:
Re-enter new password:
Password updated successfully!
Reloading privilege tables..
 ... Success!
删除数据库上的匿名用户。
By default, a MariaDB installation has an anonymous user, allowing anyone
to log into MariaDB without having to have a user account created for
them.  This is intended only for testing, and to make the installation
go a bit smoother.  You should remove them before moving into a
production environment.

Remove anonymous users? [Y/n] Y
 ... Success!
禁止root用户的远程登录,仅允许root用户从本地登录。
Normally, root should only be allowed to connect from 'localhost'.  This
ensures that someone cannot guess at the root password from the network.

Disallow root login remotely? [Y/n] Y
 ... Success!
删除test数据库。
By default, MariaDB comes with a database named 'test' that anyone can
access.  This is also intended only for testing, and should be removed
before moving into a production environment.

Remove test database and access to it? [Y/n] Y
 - Dropping test database...
 ... Success!
 - Removing privileges on test database...
 ... Success!
激活权限。
Reloading the privilege tables will ensure that all changes made so far
will take effect immediately.

Reload privilege tables now? [Y/n] Y
 ... Success!

Cleaning up...

All done!  If you've completed all of the above steps, your MariaDB
installation should now be secure.

Thanks for using MariaDB!
MariaDB的配置文件如下。
- /etc/my.cnf
- /etc/my.cnf.d/enable_encryption.preset
- /etc/my.cnf.d/mysql-clients.cnf
- /etc/my.cnf.d/server.cnf
- /etc/my.cnf.d/spider.cnf
创建数据库
数据库初始化结束后,mysql命令登录数据库。

登录数据库后,创建WordPress使用的数据库 sysblog。

创建用户
创建MariaDB用户,在这里用户名为sysblo,YourPassword的部分输入你的密码。
MariaDB [(none)]> CREATE USER sysblo@localhost IDENTIFIED BY '<YourPassword>';
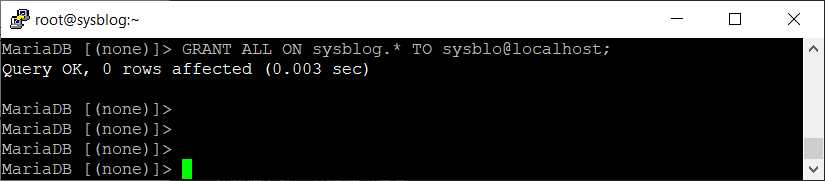
最后使用GRANT命令给用户sysblo用户赋予sysblog数据库的所有权限。
MariaDB [(none)]> GRANT ALL ON sysblog.* TO sysblo@localhost;
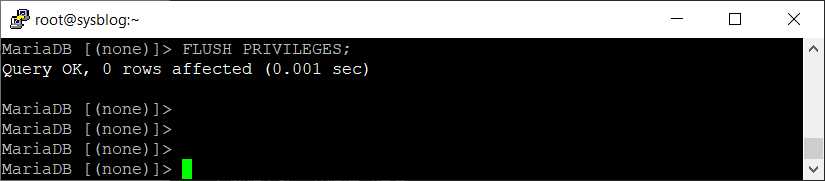
使用 FLUSH PRIVILEGES 命令,激活设定的权限。